Archiving and Protecting Your Course Content
During the March 19 general meeting, several faculty were concerned about what might happen during a strike — Who will teach our courses? How will students access assignments and materials? How will this affect students’ progress towards their degrees and our accreditation? What happens to course content I’ve created if I’m not there to teach it?
Right now, we’ll focus on that last one and what we can do about it. While intellectual property law limits the amount of content someone else can take from your course designs to just 10% of the overall material, OIT’s current policy (specifically section 6.215) is a little more murky when it comes to educational materials developed with OIT resources, like a CMS. Some faculty at the March 19 meeting expressed a general interest in getting a little more control over the ways someone might access this content.
And so, this post explains how to migrate a Canvas course to a different Canvas server. You can leave your material there just to archive it for safekeeping, or you can actually invite students to use it, because I’m sure we are all concerned about what a “qualified individual” might do with our course materials without consulting us first, and there are a lot of interesting ways we can all take a little more control over the intellectual property we develop as faculty!
Canvas!
Like most schools, we use an institution-branded distribution of our CMS. It’s right there in the subdomain: oit.instructure.com. But, anyone can create Canvas materials for any purpose! (You might remember our keynote speaker at the 2019 Convocation, David Lyons, talking about the variety of courses he had made independent of any university.)
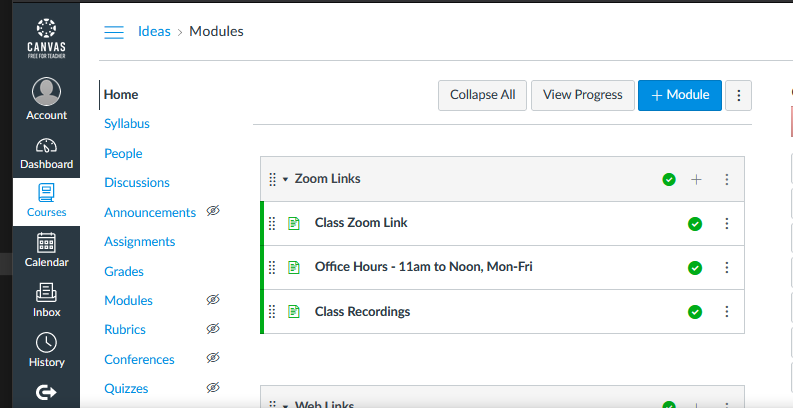
Head to https://canvas.instructure.com/ and, if you haven’t done so before, create a new Canvas account. It’s free and just requires you to use any email address. When you log in, you’ll see a pretty familiar page.
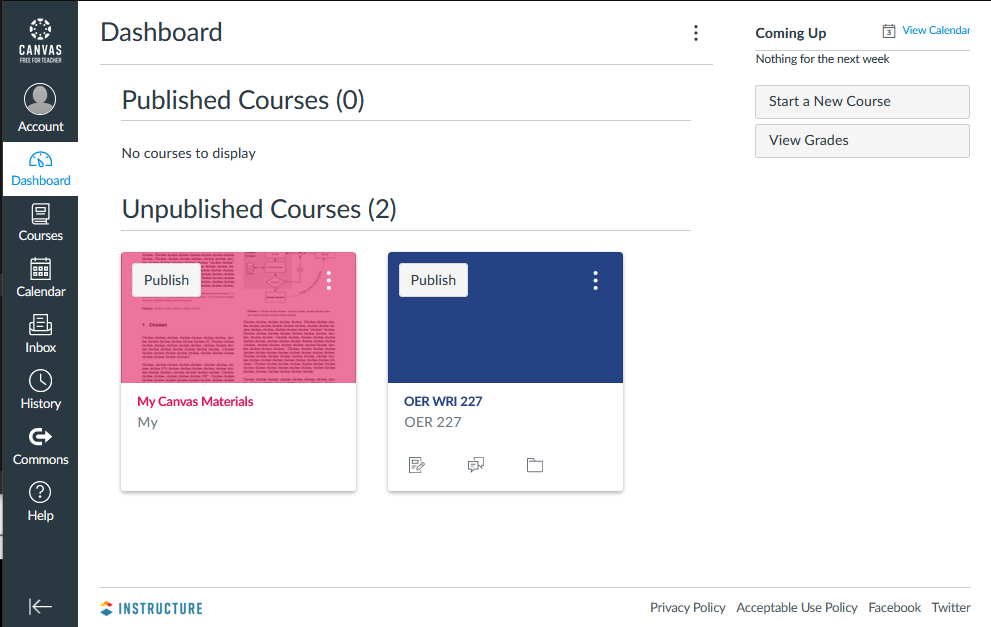
(Before we get too much further, you can click on any of these pictures to get a larger version of them.)
My page up there already has a “bucket” called “My Course Materials” where I store a lot of things I might want later on. Until now, it’s been a handy repository for readings, assignment ideas, rubrics and other stuff that I didn’t have a place for (or while I waited for a shell to be created for the next term). If you need your own, similar bucket, click on Start a New Course. You’ll be asked to give it a name and some level of privacy. I’m going to make this new one Private, because it’s just going to be ideas and material that I’m only using under Fair Use rules. Can’t share those too broadly!

Once you give your course a name, you’ll be greeted with another familiar screen.
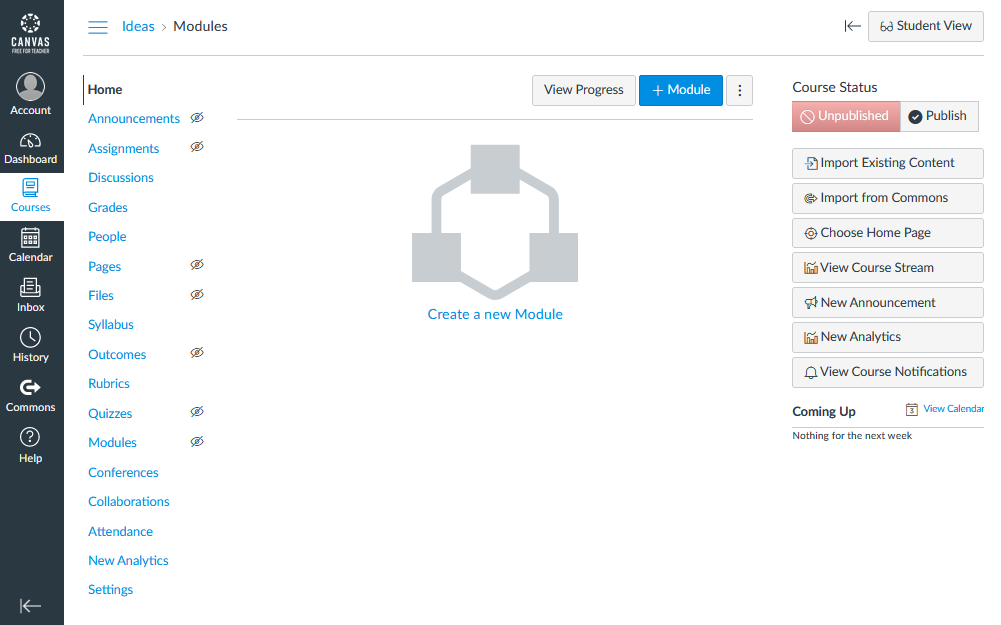
At this point, we’re going to head back into a course we’ve already made and grab some of the content out of there. Keep this tab open!
Exporting Old Content
Exporting content from Canvas can be kind of a bear. You have to do it one course at a time. (You can script it, but you need all of your Canvas course ID numbers, which means the high-tech process isn’t much faster.) We’ve probably all done this already, but I’ll start at the beginning just in case. I’m going to export the content from my WRI 327 course this last Winter, so first I’ll log in to the OIT Canvas page.
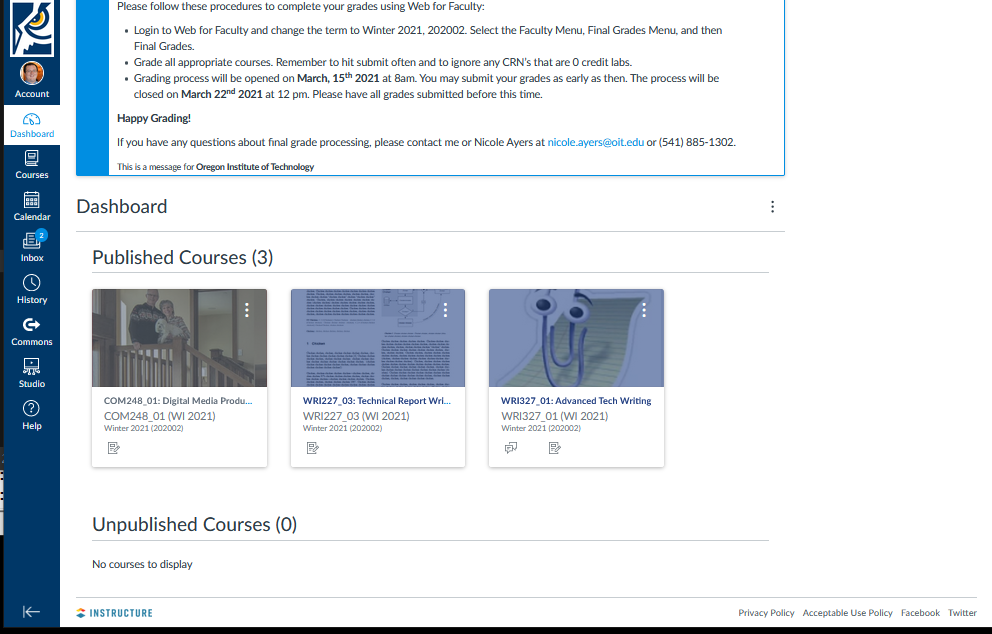
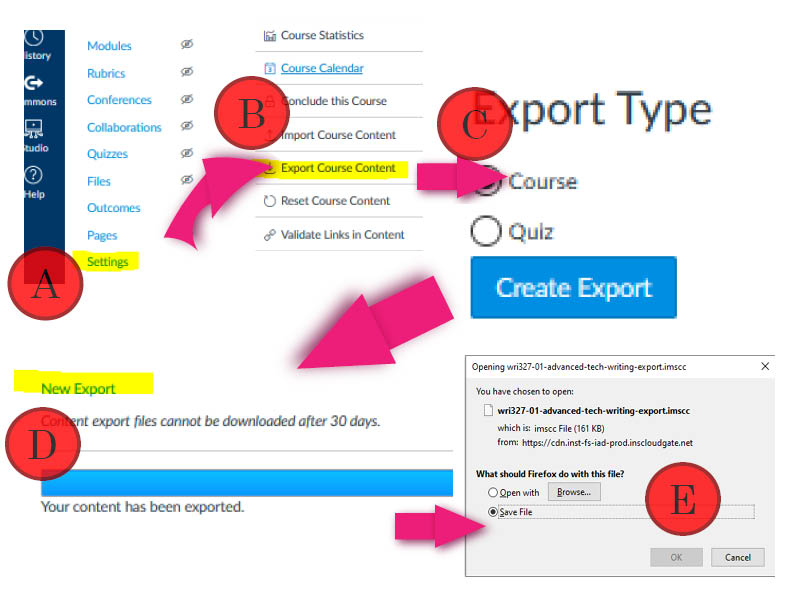
When I click into WRI 327 (the one with that excellent Clippy mascot), I’ll
- head to the Settings link on the sidebar, then
- use the Export Course Content link in my Course Details page. I will
- select course as the thing to copy, then
- click New Export when the process is done to
- download my course contents.
Depending on the amount of material you save in Canvas, this might take a while and it might create a really big file. We can store up to 500mb of material in both the OIT version and the free version. You will need to save it on your computer temporarily! This file contains all of the Canvas content you create, but it does not save any of your students’ work. You will need to download assignments individually if you want to store them for future use.
Back to That New Course
Now, you’ve got a Canvas export file and a new shell—how do we put them together? Well, we can refer back to the process above. But, instead of exporting your course content, you will import course content.
- Head to the course settings, choose to
- import course content,
- select Canvas Export Package as your source and
- import all of the content from that course.
Again, depending on the size of the course, it may take some time.

When you’re done, if you click back to the Home screen for your new course, you’ll see all of your content has migrated over in exactly its old form, except that student submissions are not brought in this process. (Can you tell this is being written by an assessment coordinator? Keep that student work intact!)
De-Clutter
Effective data management and document life cycle plans always include getting rid of old material. Just like that filing cabinet in the corner of your office, the servers holding all of our course stuff can get a little crowded. (You know what I’m talking about if you’ve ever tried to add an existing rubric to an assignment, just to spend 10 minutes scrolling through old courses to find what you’re looking for.) Getting rid of content on Canvas can be very time consuming, though. Once a term begins, we lose access to the Reset Course Content tool in the Settings menu, so the only thing we can do is individually delete every page and assignment in our Canvas shell.
Unless we use a tool like the one below, that is. This webform asks for a few pieces of information:
- The URL for your Canvas shell’s home page (it looks like https://oit.instructure.com/courses/11649, with nothing after the courses/####). This tells Canvas what course you want to modify.
- Your Canvas Authorization token, which you need to collect through this process. (For step 4, you can say “backing up a course” as the reason you need the token. The answer just can’t be blank.)
- Verification that you have already backed up your course. This deletion is irreversible. If you want to put content back into a shell, you’ll need to have an export file or another source course to copy from.
If your course shells are anything like mine, this form will help clear up a few hundred megabytes on the storage servers! And, if you have the same rubric overload problem I described above, this will also work on courses that have been archived.
And, if you are worried about the security of this tool and whether we store any of this data, you can find the full source code of it here. All of the information you provide is deleted as soon as you close your browser window.
